Finger Stretching Exercises for the Guitar
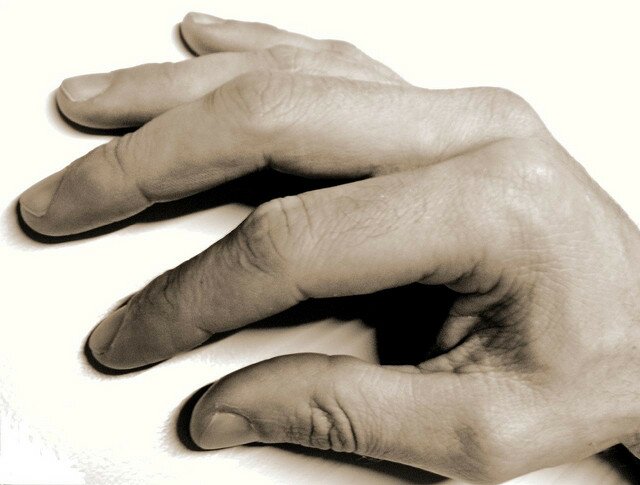
Last lesson we looked at some exercises that were designed to help you improve your picking technique. This lesson we’ll have a look at some more exercises, this time aimed at strengthening your left hand. Some of the exercises include some fairly demanding stretches but by running these through, your fingers will get stronger and stronger. It’s the same effect that doing weights in the gym would have on your physical strength.
The first exercise is another adaption of a simple spider exercise. However, the exercise is the same, it’s the way in which you play it that changes. This time you hold your fingers on each note until you need to move to the next one. The aim is to have all your fingers pressed on a note at all times, unless you are moving to the next note. Take a look at the video to see how this should be done.
Next up we change the order of the notes in the exercise in order to make the fingers stretch further. Each time you reach the 1st string, move up a fret and descend the exercise one fret higher than you ascended it. Then when you get back to the 6th string, move up a fret and start the process again. If you play the exercise like this, you can play the exercise all the way from the 1st fret to the top of the neck should you wish. Below, the exercise is only written out in TAB for the first few frets but you can continue the pattern as far up the neck as you like. The further you take it, the more time you fingers spend repeating the pattern, and thus the stronger your fingers become.
In the lesson before we looked at an exercise taken from the pentatonic minor shapes. The next exercise is similar, only this time we’re using the shapes from the major scale. As these shapes are harder to play, they should also be more of a challenge when presented as an exercise. This exercise involves playing the first two strings twice, then moving onto the next two strings and then so on until you reach the end of the scale on the 1st string. Once you have reached the top, descend the scale in the same manner. Below you have the exercise in TAB for the first two positions of the major scale in the key of A major. Once you have got used to these positions, feel free to carry on the exercise using the other five shapes of the major scale.
A major position 1:
A major position 2:
The last exercise of the lesson is again aiming to improve your strength, but is also a great one to use if you want to improve your speed. It only involves six notes but is quite a stretch. The general idea of this exercise is to repeat the pattern over and over, starting off at slow speed and then gradually getting faster and faster as you become comfortable with the pattern. Two variations of the exercise have been written out in TAB below. Enjoy!
If you fancy getting a bit more into blues whilst also stretching out your fingers, be sure to take a look through our introduction to one octave blues scales!
image credit – Stijin


